
We are youth, we are understudies or employment people, however some place where it counts we are still star kids, who need to play in-your-face diversions like Assassin’s Creed, GTA V, and some more. Yet, for the transportability we buy laptops, which don’t have unrivaled designs execution at a similar cost like PCs. Thus, we have brought you two no-nonsense solutions for this issue. Indeed, graphic cards are not just utilized for gaming purposes, it is likewise utilized in useful works, for example, video editing, sound mixing and other professional works.
Solution 1

In this technique, you can include an outside screen with the graphics adapter, which is essentially a case containing an inbuilt illustrations card. You simply need to purchase the Startech Adapter and associate it to your PC by means of USB. Furthermore, associate the outside screen with the assistance of HDMI connector and you are prepared to go. Simply ensure a certain something, this arrangement isn’t made for top of the line gaming execution, you can watch films, edit videos and so forth.
Solution 2
This arrangement is particularly implied for extraordinary top of the line graphics users, for example, gamers, coders, proficient graphic designers and so forth. The procedure includes a few stages to accomplish the suitable outcome, and one needs essential information of technology and tools to achieve this task.
Let’s begin
-
Buy eGPU Dock From the Given Link
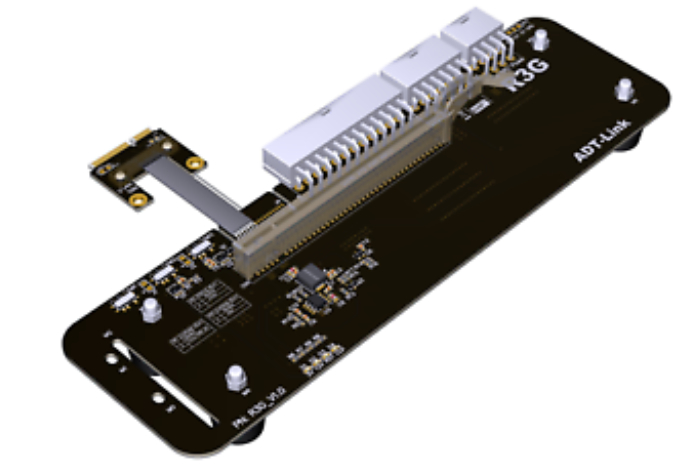
The first step on the rundown is to buy an eGPU dock from GearBest.com and to design it. Basically, a graphics card is a substantial and power consuming device, which needs a committed PCI slot, and a laptop, without a doubt, don’t have that space for a GPU card. In this way, eGPU dock gives you a versatile alternative to connect outer graphics card with laptop.
-
Download the Graphic Card Driver
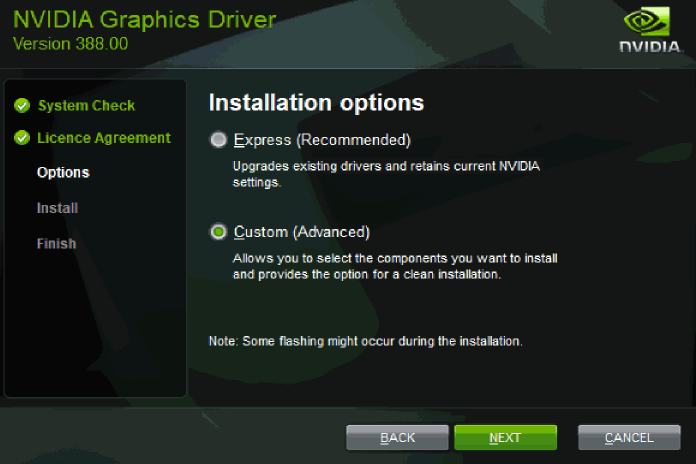
Now, in the second step you have to download the sufficient GPU driver to make it perfect with your laptop. For instance, if I am using a Nvidia GTX1080 graphics card, at that point I have to download all the official device drivers from Nvidia’s official site. Simply ensure the drivers ought to be refreshed and perfect with your laptop.
-
Disconnect Internet and Uninstall the Wifi Driver
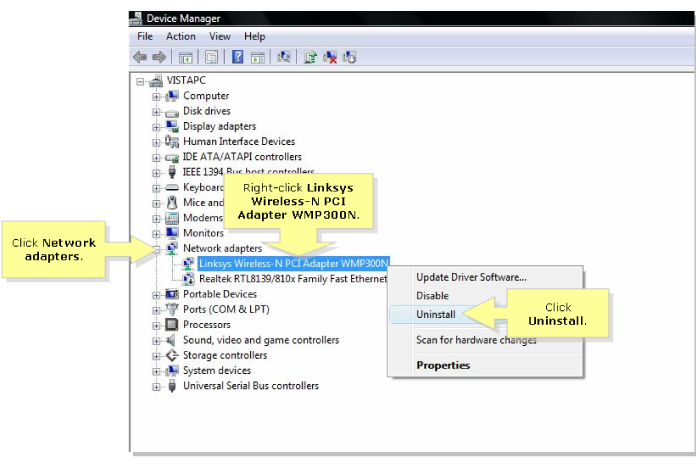
This is, in fact, the first purpose of eGPU installation process. First of all, you have to uninstall the Wi-Fi LAN drivers from the device manager panel. Right click on My Computer -> Manage -> Then click on Device Manager -> select WLAN/PCI simple communication controller-> then right click on the same and uninstall the driver.
We have to complete this process since we will unplug the WLAN card from the laptop, and going to utilize a similar port for eGPU space.
-
Unwrap the Cables
Now, you need to carefully unwrap the HDMI and the mini PCI plug.
-
You Need a Screwdriver and Spatula
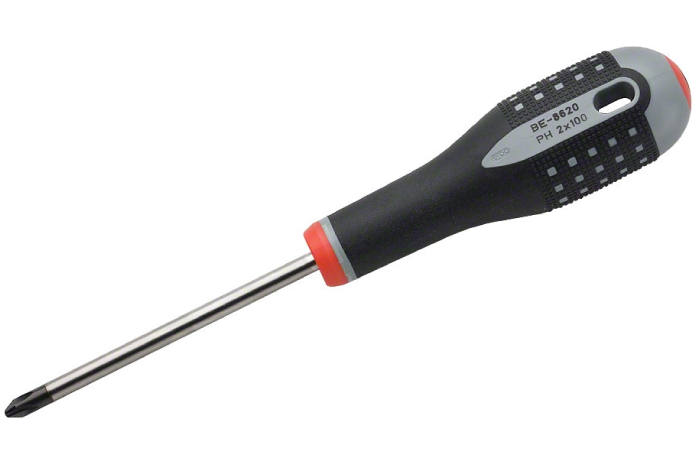
As the procedure contains physical removal of the internal parts, you require a small four sided screwdriver and a spatula to open up the laptop case. With the assistance of screwdriver, remove all the screws and use the spatula to remove the keyboard panel. In the wake of unplugging the keyboard, you will be able to evacuate the entire back panel of your laptop.
-
You Need to Unplug the Mini PCI Slot of Wifi
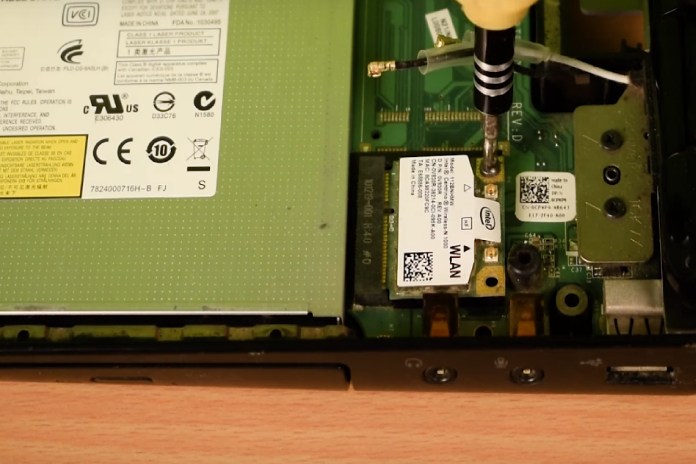
Now, unplug the mini WLAN PCI carefully from the motherboard. First of all, unplug the two power cables from the WLAN card -> then with the help of spatula remove the PCI card and clean up the area.
-
Plug in eGPU Card
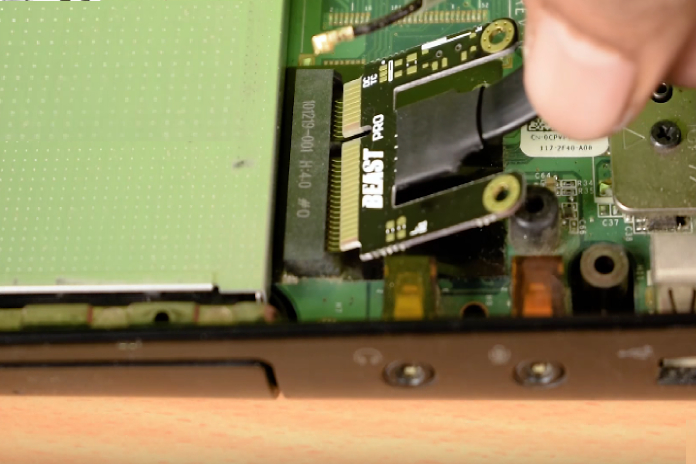
In this step, plug in the eGPU card into PCI slot and screw up the card. There is no need to connect the two power able to the PCI card as it will directly get the power from eGPU dock.
-
Replug the Components
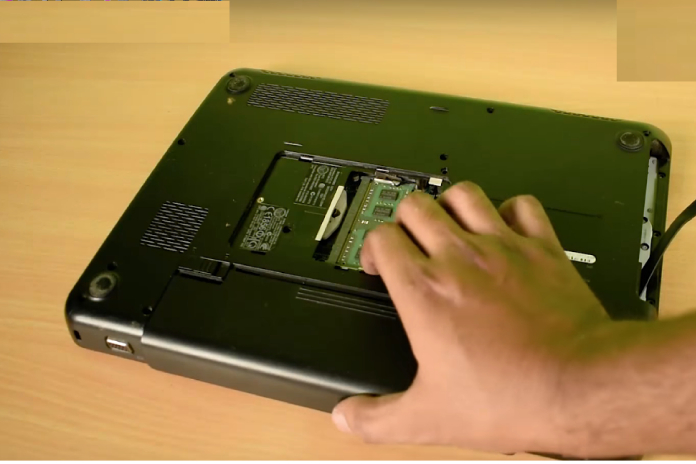
After plugging in the eGPU card, reassemble all the components of the laptop and screw up all the external parts.
-
Purchase At Least 650 Watt PSU(Power Supply Unit)
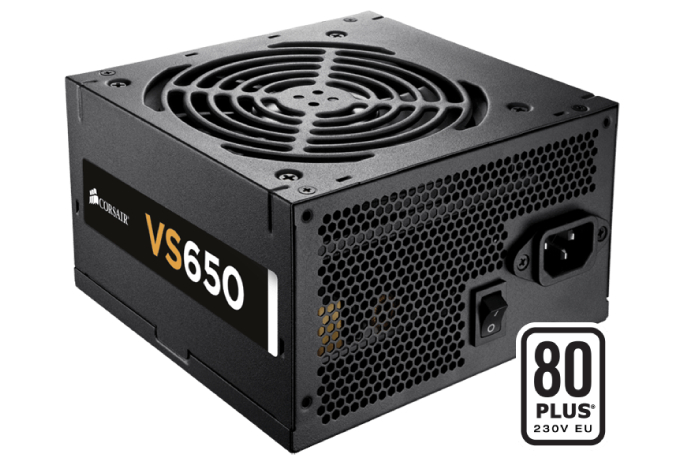
Now, you have to provide power to your GPU along these lines, purchase a PSU of rating at the very least 650 watt. What’s more, it is prescribed on the off-chance that you will utilize a high power graphics card, ensure the SMPS/PSU should be from a great brand like Corsair. Power or voltage is a standout amongst the most critical aspects required by a graphics card.
-
Now Connect Power Connectors
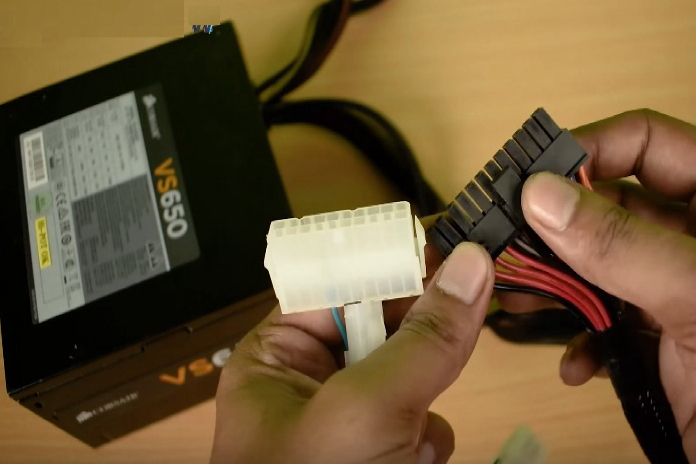
The SMPS accompanies a few power connectors for a few segments and we have to associate the 24-pin ATX connector to the eGPU dock’s power connector and ensure if there is a necessity for additional power connectors for your graphics card, since some GPU unit needs dedicated power. There is, additionally, a 4-pin connector, which will connect with one of the 4-pin connectors from SMPS and associate to the other side of the eGPU dock.
-
Connect the HDMI Cable to the eGPU Dock
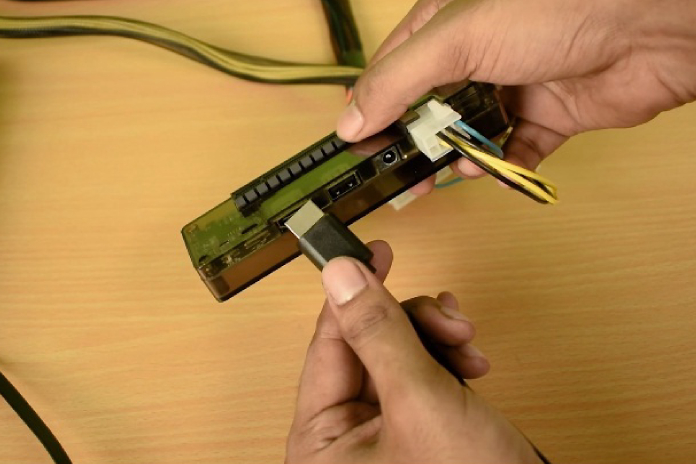
Now, connect the PCI card HDMI cable to the eGPU dock, in order to establish the connection.
-
Connect the Graphic Card to PCI Express Slot on eGPU Dock
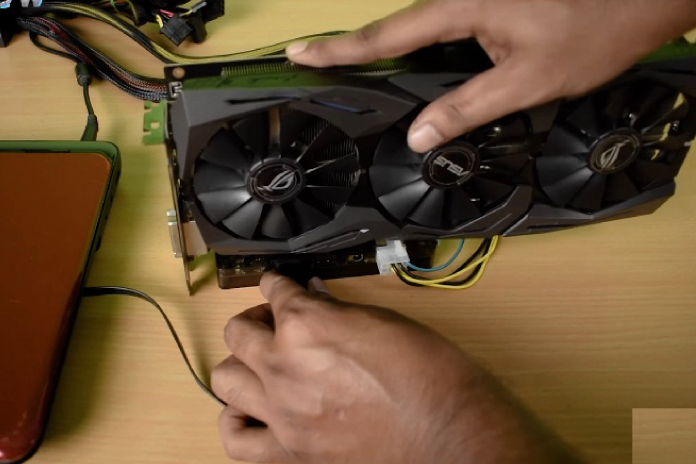
Now, you need to connect the heavy graphic card on the PCI express slot available on the dock and switch on the SMPS for power supply.
-
Start the Laptop Go to BIOS Settings and Disable the Internal NIC
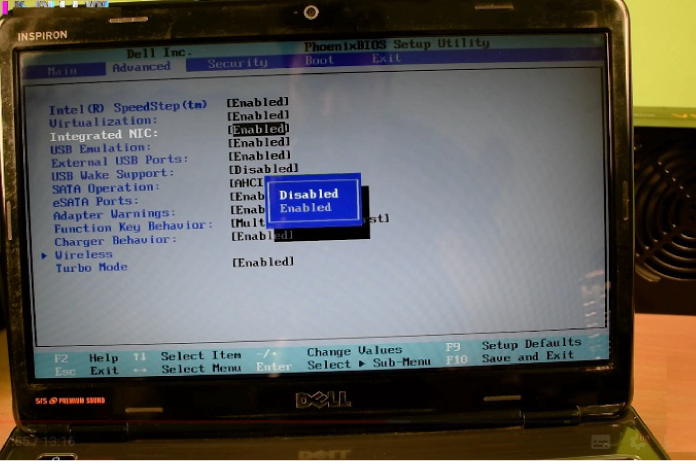
Now, start the laptop and go to BIOS setting by pressing F9 or F11 key in the beginning of the booting process. A new window will pop up, including BIOS settings. Go to advanced tab and disable the integrated NIC option. Well, actually this option will disable the use of CPU’s graphic memory and allow you to configure the external graphic card. Now, save the settings and reboot to Windows.
-
Continue to Windows
After finishing up the booting process, Windows will automatically detect the graphics card. If it is not detecting the graphics memory, then right click on My Computer-> go to Manage-> then in the pop up window click Device Manager-> under the PCI Express Module, you will find an unknown device, just right click on the option and click on Update Driver-> then select NVIDIA (in my case) from the list and install the same.
-
Setup the Graphics Panel
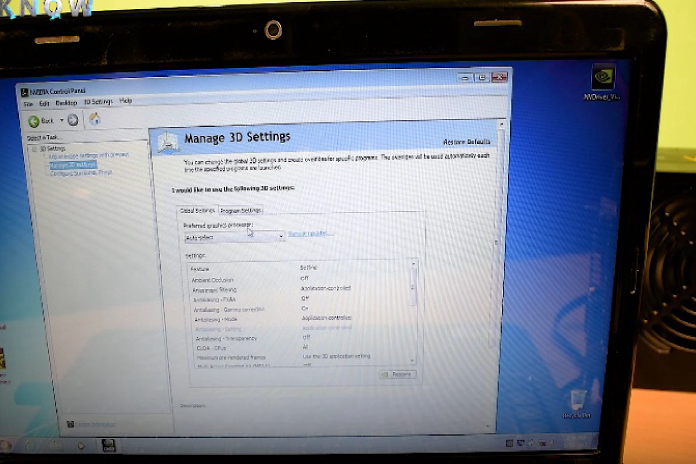
The final step is to optimize the graphic card according to your usage. Go to Graphics Control Panel and manage the Default Settings, and you are good to go. Your laptop is now a complete gaming beast.


