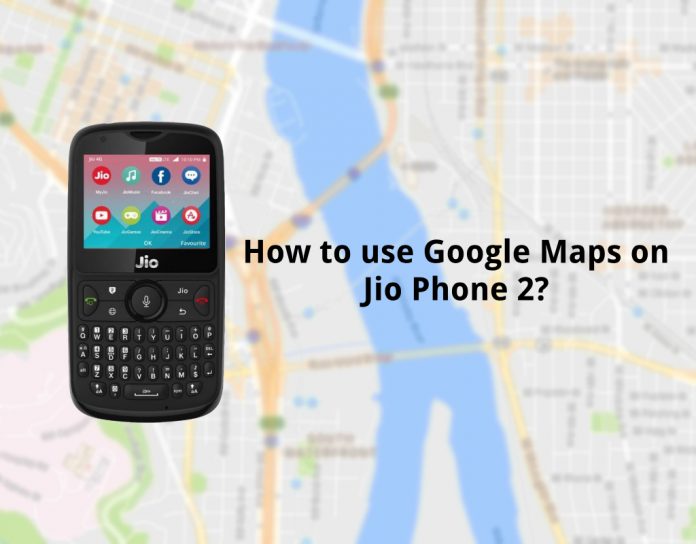
After disrupting the market with sensational Jio network, Jio forayed into the feature phone segment with the launch of Jio Phone last year. The phone not only breathed fresh air in feature phones segment, it also made many manufacturers focus on bringing low-priced features phones with 4G support. Following the immense success set by its predecessor, Reliance lead Jio has launched the Jio Phone 2 featuring a horizontal display and a physical QWERTY keypad. Both of these come as positive aspects of the Jio Phone 2 and are also notable changes compared to the previous Jio Phone. To remind you, the Jio Phone 2 sports a 2.4-inch (320 x 240 pixels) QVGA display, has 4GB storage with microSD support and has Dual SIM support. Another interesting thing about the Jio Phone 2 is that it also includes the support for NFC which can be used for payments.
The Jio Phone 2 runs KaiOS 2.5 and it is one of the most popular OS right after Android all thanks to the first Jio Phone. The new upgraded KaiOS 2.5 brings a whole lot of new features and apps such as Google Maps for navigation. Since Jio Phone 2 comes with GPS enabled, this shouldn’t come as a surprise. This gives user’s various important information such as geolocation, direction, and Places among others. However, Google Maps doesn’t come pre-installed on the Jio Phone 2, meaning you have to manually install the app on the phone to bring the feature. So, if you are the one who is eagerly waiting to install Google Maps on your Jio Phone 2, we are here with a guide to help you do that.
Though there are tons of apps available as alternative to Google Maps in the PlayStore for Android, KaiOS 2.5 is relatively still growing. Let’s get started.
The Google Maps app on the Jio Phone 2 offers more or less similar interface. It doesn’t differ much from the Maps on Android and iOS platforms. Simply follow the below steps to get started:
Here’s how to use Google Maps on Jio Phone 2:
- Firstly, since the geolocation is not enabled by default on the Jio Phone 2, you will have to do it for yourself. Head over to ‘Settings > Network & Connectivity’ and scroll down to the geolocation option.
- Once you are in the menu section, simply tap on the centre button and select ‘On’ to switch on GPS services.
- Now to get the Google Maps, open the Jio Store pre-installed application and scroll through the list of available apps until you find Google Maps and install it on your Jio Phone 2.
- After installing, you need to navigate to the Google Maps where you will be asked permission to access your location much like how it is on Android and iOS.
- Do note that you will be asked permission only if the GPS is enabled which we have explained in the first/second steps. Since Maps needs to pinpoint your location, you need to enable GPS first.
- As we mentioned above, the interface is quite simple and similar to that on Android and iOS, you won’t have issues accessing location, nearby locations, get directions and more. That’s pretty much.
Conclusion: That’s how simple the process of using Google Maps on Jio Phone 2. So, if you are the one who is using a Jio Phone 2, we hope this article helped you know about a feature that your phone packs. As you can see from the mentioned method, accessing Google Maps on Jio Phone 2 is extremely flawless and works brilliantly. The quality of location detection and getting directions is accurate for the most part. Since Google Maps is one of the widely used feature on Android/IOS smartphones, it is good to have the feature even on features phones; a segment which is right on top and given the price sensitive market that is India, we don’t see it as a surprise.
However, the feature is available for the first Jio Phone as well, but works slightly different given the changes on the Jio Phone 2. Do try out the feature and let us know how helpful and functional this feature is for you. The Jio Phone 2 is available at Rs. 2999 and is already available in India from August 15th.


